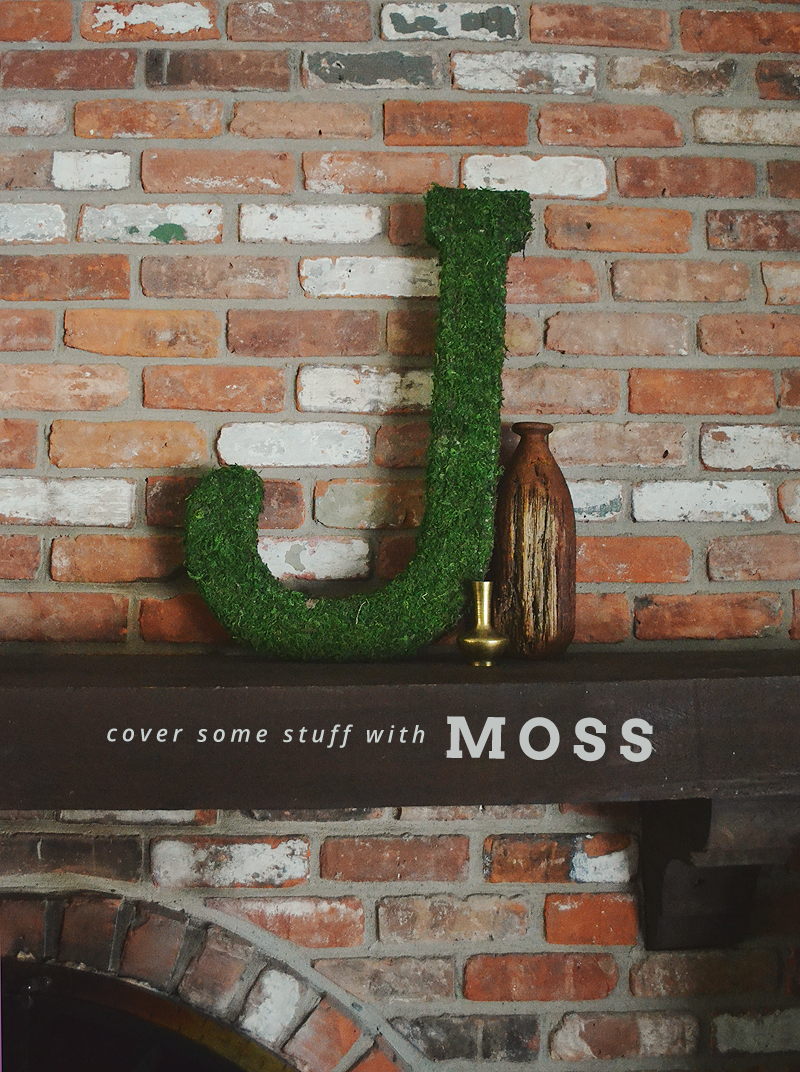
Hi, friends! I have a really fun tutorial for you today. If you follow me on Instagram, you may have noticed a photo I took awhile ago of some oversized kraft letters. The M + L were gifts from my mom for Christmas and I picked up the serifed J a little bit later. My upcoming wedding is going to have a sort of rustic aesthetic, lots of wood and organic textures, so what better way to introduce our new monogram with a little DIY moss-covered letters?
[divider] [/divider]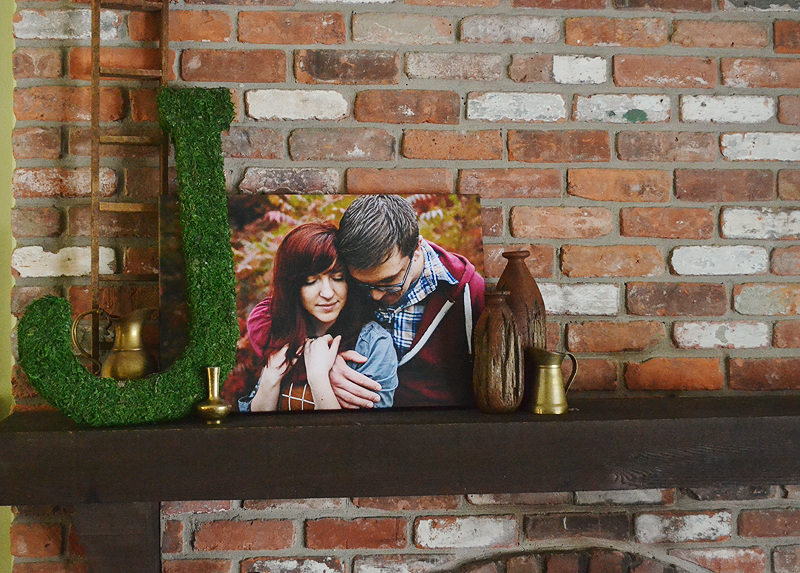
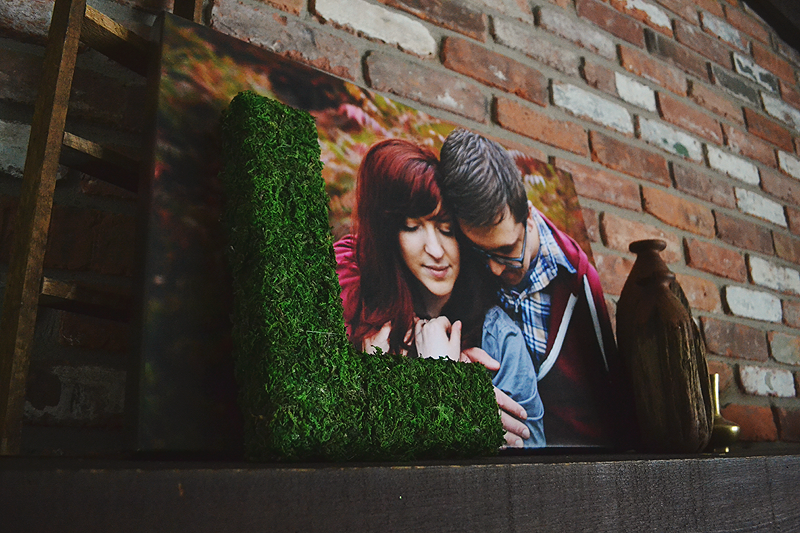
The finished product! Or one of them, at least. I LOVE how it turned out and can’t wait to display all three.
For this project you are going to need:
- A hot glue gun with plenty of glue sticks. If you run out, your house will be in complete mossy disarray until you get some more. Don’t ask me how I know. Pro tip: be prepared to find some of this stuff in your hair for awhile.
- Something(s) to moss!
- A roll of netted moss. YES, they come in rolls, who knew?! Hence the title of this post, as I know want to moss everything because it is THAT easy.
- Something to lay under your work area for easy clean up – newspapers would work great. I used some of the kraft paper I ordered for this project.
[divider] [/divider]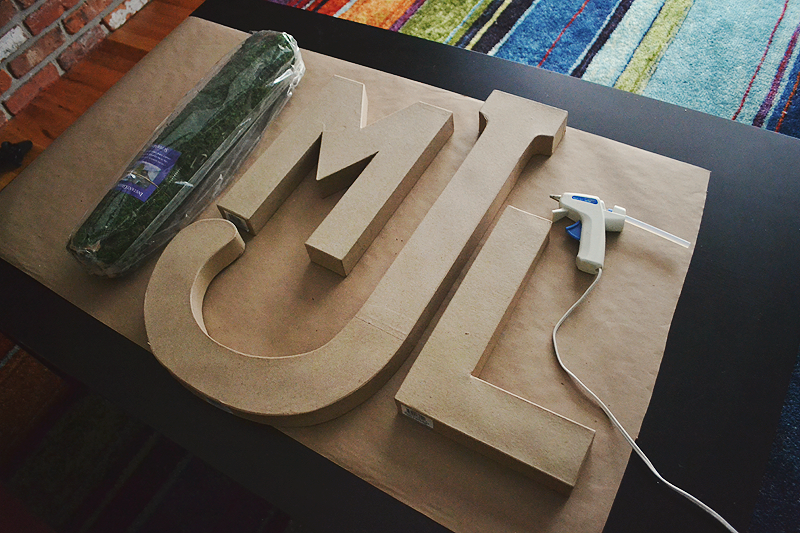
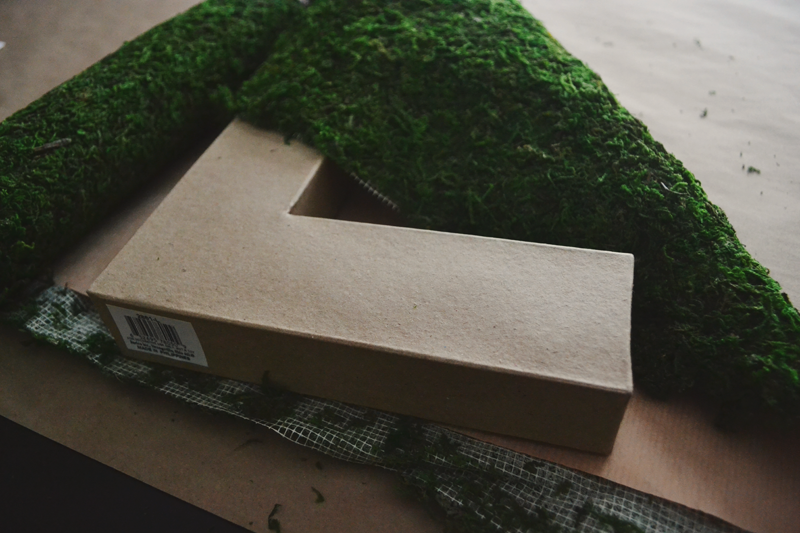
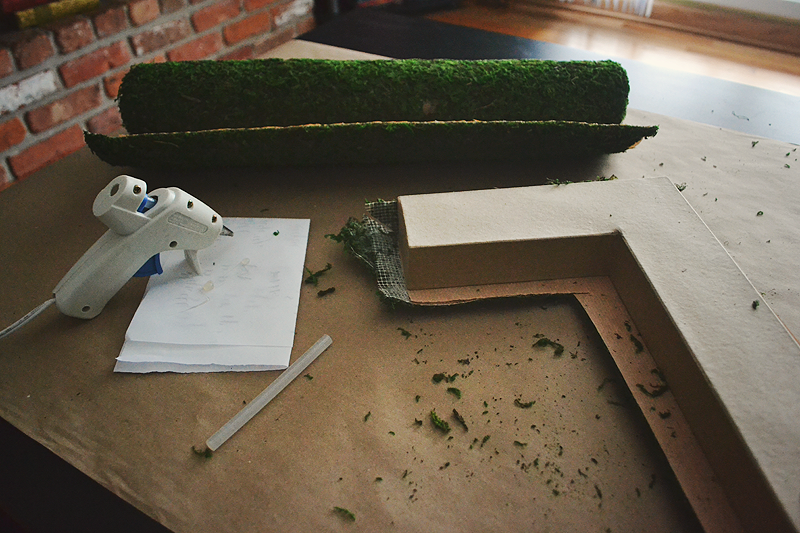
The first step is laying the letter down on a piece of unrolled moss. Gauge how much you might need and cut accordingly. The moss (at least the brand I used) is delicate and “natural” enough where it can fall off easily – awesome because it looks real, not-awesome because it can get thin enough to see the netting at some points. BUT! Don’t throw the remnants away! It’s super easy to glue them back on and fluffen it up.
[divider] [/divider]
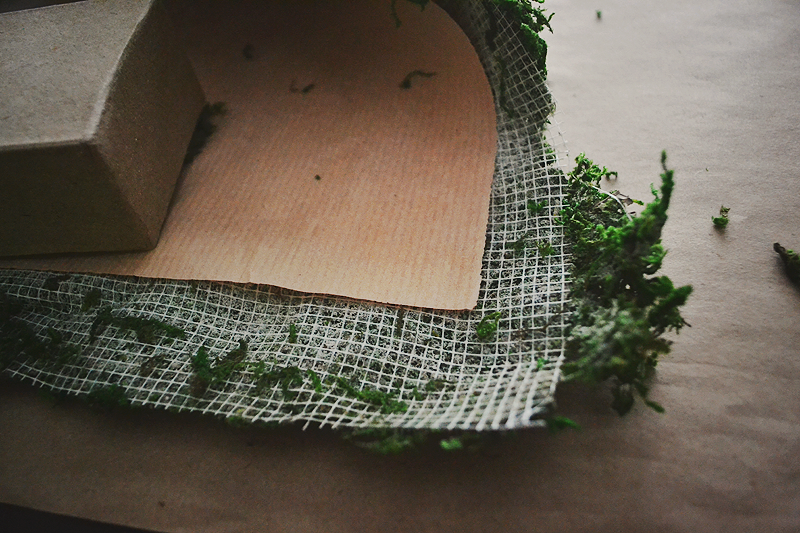
Hint: take that craft paper out before gluing. It’s only there so the netting doesn’t stick when rolled up. I realized this halfway through the M… whoops.
[divider] [/divider]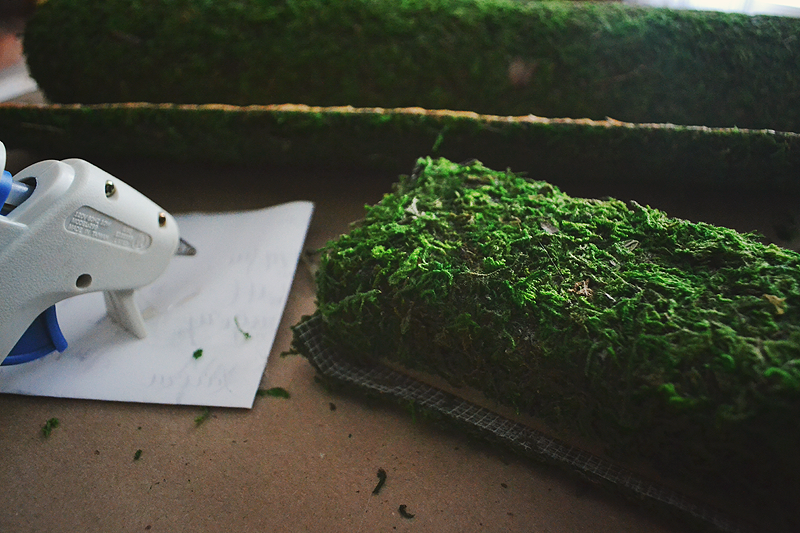
Glue one side, flip that bad boy over, and then do the same thing. This moss is great because it’s so simple to make it look seamless! If one of your seams is peeking through, just cover it up with the inevitable mess you’ve created lying around.
[divider] [/divider]
[divider] [/divider]
The final step is to display your moss-covered-whatevers around your home, proudly pointing them out to guests and not letting them forget that “HEY I MADE THAT LOOK.”
And that’s all it takes! If you use this tutorial, send some pictures my way – I’d love to see what you make. – L