If you’ve ever been a client of mine, you may have wondered what exactly was happening when you approved a project to print. We’ve spent all this time designing, emailing back and forth, tweaking your paper just right. We move into production mode and then… communication drops for a few weeks. How very mysterious. What’s the deal with the invitation print process?
Today I’m so excited to share some behind the scenes peeks at exactly what our Print & Production process looks like at Paper & Honey®! As an heirloom wedding stationery and letterpress studio, we’re responsible for every single aspect of every single invitation, notecard, save the date, RSVP card, and print that goes out our door. And that’s exactly the way we like it.
As a designer AND perfectionist, I’m obsessed with having control over every little detail. Not only does it allow me to oversee production of my artwork and make sure my couples are only receiving the best of the best, but it gives me the freedom to create pretty much whatever I want. An artist’s dream!
Let’s get started. From the top!

1. We’re approved to print!
So you’re my most recent P&H client / BFF. For the past few months we’ve been working closely on your invitation suite, and we’re now ready to move into production mode. Aww, yeah! You’ve triple-checked your last Proof, ensured all information and spelling is correct, and have signed off on your Print Approval Form. At this point I let you know the next 4-6 weeks will be spent bringing your design to life!
What exactly does that mean? 4-6 weeks is a long time! Girl don’t I know it. 4 weeks is basically 6 months, and you want your beloved invitations now! I get it. But those weeks are precious and quite packed. I build some healthy padding into each timeline for the “just in case” — just in case your ribbon is out of stock, your envelopes arrive in the wrong size, your envelope liners were left out in the rain by UPS, or it’s hurricane season and UPS is taking four times longer than usual.
There are a TON of moving parts and pieces! This 4-6 week timeframe ensures that not only will we have enough time to get everything printed and perfect, but ensures for those inevitable “just in case” moments, too.

2. The design is converted to a plate for printing
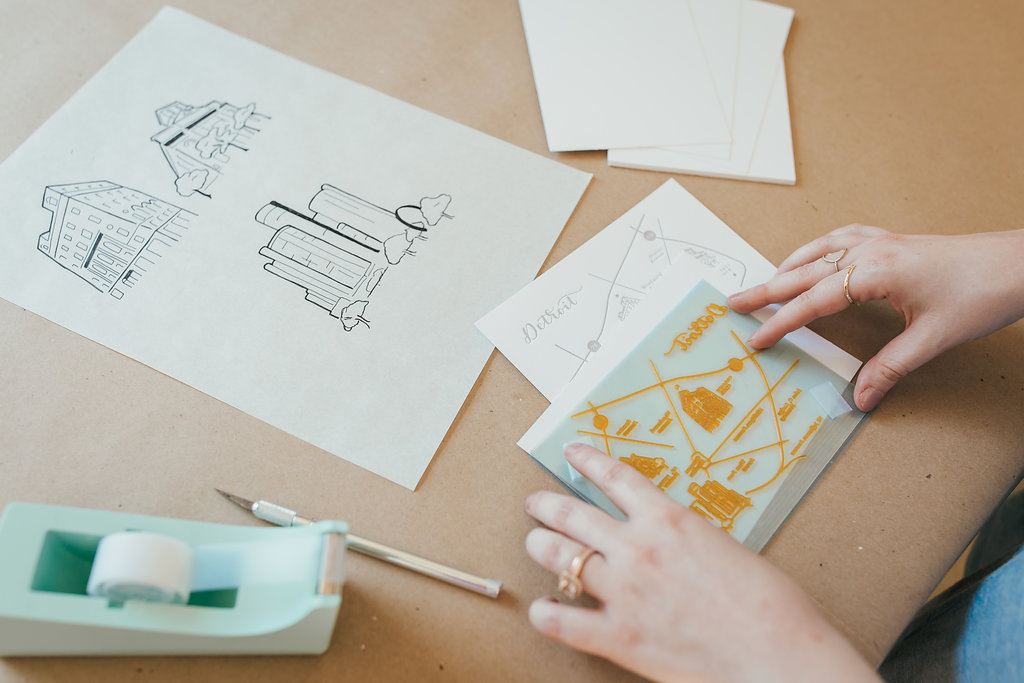
Before we can ever actually print your design, we need to create a “hard copy” first. For letterpress printing, this means that the design is turned into a photopolymer plastic plate, and for hot foil stamping, a ¼” thick copper die. These elements can be quite expensive (and are partly responsible for the overall cost of fine printing), so we want to ensure everything is 100% perfect before committing.
At this point I double- and triple- and quadruple-check your design files. All text, illustrations, and spot calligraphy is outlined, given a very thin stroke, outlined again, flattened, and made 100% black. (Oops — unless you’re a designer, probably none of this makes a lick of sense to you. #stationeryjargon) I send the native Adobe Illustrator files to my go-to vendors and they get started! I use Boxcar Press for all of my letterpress printing needs, and Owosso Graphic Arts for my hot foil dies. They take good care of me — and therefore my couples and clients, too.
After the files are sent off and the designs are in motion, it’s time to look at the remaining elements in the invitation print process.
3. All materials and finishing touches ordered
Like I mentioned earlier, there are a TON of moving parts when it comes to producing an invitation suite! If you’re not well-organized, it’s embarrassingly easy to make a mistake. Ordering the wrong envelope color, falling short on ribbon because your ribbon math was wrong (and yes, ribbon math is A Thing), sending the wrong file to print and having to re-do it all… so many mistakes. ASK ME HOW I KNOW.
Whoops here I go on a side tangent: earlier this year we were printing an invitation suite for an April wedding. The next morning we were headed to Saugatuck, Michigan for a long-awaited little winter staycation, and I was DETERMINED to get this job done and shipped before we left. It was only after all 150 invites were letterpress printed and being packed up that I realized they were supposed to be on double-thick paper (they weren’t). Not a big deal because we print everything ourselves and could just print more, right? We just needed to have said double-thick paper in stock (we didn’t). Cue *panic* and late night emails and a less than relaxing weekend vaca.
ANYWAY. Everything ended up being just fine, and I’m so fortunate to work with gracious and patient couples! But, can’t stress enough: organization is key.
We use Asana for our Paper & Honey® print shop and keeping track of all projects currently in production. As soon as the Print Approval Form is signed, we create a card for that project! I flesh out checklists for each member of our team.
Max is our press operator, and his checklists have items like cutting down paper, mixing inks, and completing all necessary letterpress printing and hot foil stamping. Christina is our production assistant, and her checklists look like assembling all finishing touches (more on that later)! Lastly, my checklists consist of triple-checking all details, ordering everything needed, and making sure they get out the door on time.
Once the print and production details are all finalized in Asana, I get to purchasing. We keep a fairly organized Shipping Department*, including all sorts of shipping supplies and an intense envelope inventory. At Paper & Honey® we aim to have the least amount of waste possible, so I always check my current inventory of envelopes, ribbon, wax seals, etc. before purchasing more.
*By “shipping department,” I mean a VERY fancy room in our basement.

4. Begin invitation print process + production
Once all of the materials necessary to get started arrive, it’s go time.
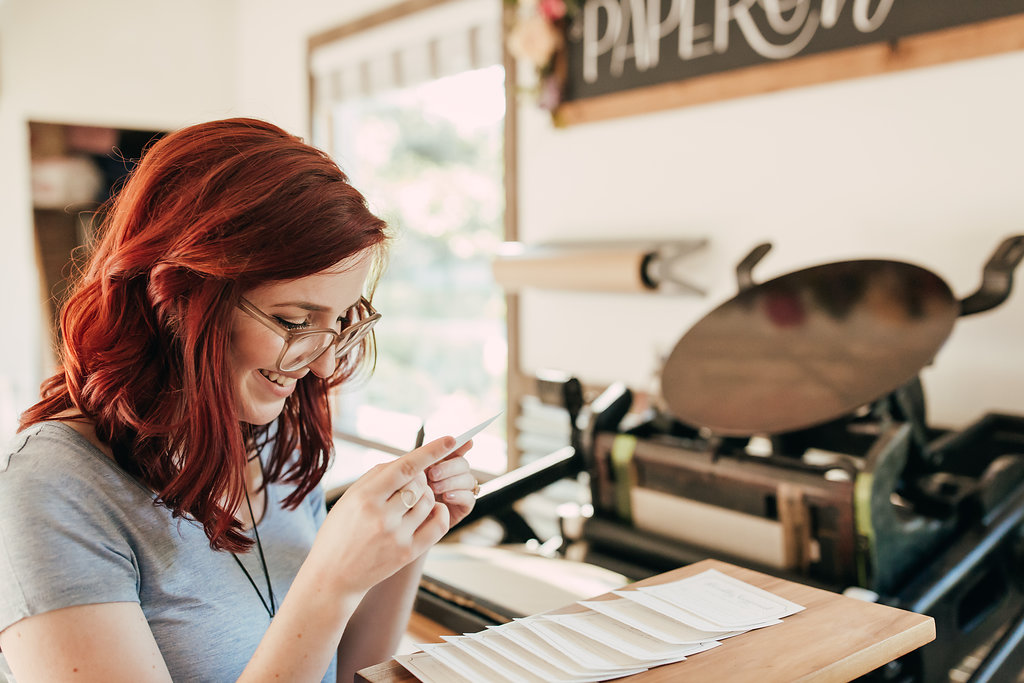
This is when the magic happens, y’all! Fine printing methods like letterpress and gold foil stamping are quite labor intensive, and the best part is that every single print is created by hand.
At this stage in the invitation print process, we’re cutting paper stocks down and quadruple checking our right angles are a perfect 90 degrees. We’re mixing letterpress inks in accordance to their Pantone recipes, and we’re printing or foiling each and every piece of paper one-by-one.
What most letterpress printers won’t tell you is that the printing process is 90% troubleshooting and 10% printing. These machines are a hundred years old, and every little thing is a variable that affects the print itself. If a print isn’t perfect, the next step is asking why. Is our registration off? Do we have enough padding on the typeman? Do we need to apply tape to the rails of our press to get everything type high? Is there too much or too little ink?
Time consuming? Yes. Worth it? Absolutely.
When we first brought Winnie the Press home and got started with letterpress printing for the first time, this was maddening. Especially because how-to resources for letterpress specifically are so rare! I may or may not have cried a lot and asked Max if we made a 2000 pound mistake. (Our very first job took 16 hours, and I STILL wasn’t totally thrilled with the printed results. Can you blame me?)
Thankfully, time and experience taught us SO much. While still very time intensive, we’ve got this process down pat now!
5. Add finishing touches
“Finishing touches” are the bells and whistles of wedding paper. They’re every add-on beyond the standard insert and envelope, and fine details that can elevate a suite.
This is our production assistant’s domain! Christina has a fantastic eye for ensuring consistency, and that every set is perfect and lovely. Tasks like cutting and tying silk ribbons, melting wax seals, die-cutting and assembling envelope liners, and applying vintage postage are all completed here.
6. Quality control check + packaging for shipment
We can see the finish line!
I’m a perfectionist. As perfectionists do, I am double-checking everything with a critical eye during the entire process. There are rarely any surprises leftover at this point! But before everything is wrapped up with a bow, there’s one last opportunity for a quality control check. Oftentimes I will have the project scope pulled up in front of me as I’m packaging, so that I can mentally check off every item as I’m putting it in the box.
Is each and every envelope correct and accounted for?
Are all quantities fulfilled (with a couple of extras, just in case)?
Has every piece been printed on the correct paper stock, in the correct color, with the correct finishing touches?
Is everything a perfect 10? Am I beyond proud and confident to send this paper to the couple who invested in it?
If that last question is a no, I pause and reevaluate. That is top priority. I build a bit of buffer into our production timeline to account for any errors we might need time to rectify — I can’t tell you how many times I’ve received the wrong envelope color from my vendor! That buffer time helps keep everything running smoothly, oftentimes without the client even ever knowing there was a hiccup in the first place.
7. Shipment!
Like a mother sending her firstborn off to college, I reluctantly send the package off into the world with a hope and a prayer. “Be good! Don’t talk to strangers. Call me when you get there!”
This is often one of the most anxiety-inducing parts on my end, simply because it is officially out of my control. Thankfully, UPS takes good care of both me and my couples, and I’ve rarely had an issue!
And there you have it: a behind the scenes look at Paper & Honey’s invitation print process and production steps. A hefty post for the hefty love and devotion we pour into each and every client.
Get the invitation print process rolling — let’s get started today!
Huge thanks to Heather Nash Photography for our studio images!
